Email functionality is vital for many Oracle APEX applications, whether it’s sending notifications, confirmations, or updates to users. Deployments on an Autonomous Database (ADB), have by default added layers of security that make adoption and migration a bit challenging.
Oracle documents the key differences, constraints inherent to Autonomous Database for experienced Oracle Database users. The notes on PL/SQL packages discloses the restrictions applied to sending emails and UTL_SMTP, which is leveraged by APEX and the APEX_MAIL package.
The primary restriction is that the only supported email provider is Oracle Cloud Infrastructure Email Delivery service.
This guide walks you through configuring email in Oracle APEX, addressing the specific constraints and considerations for ADB environments.
Step 1: Generate SMTP Credentials
Why it’s needed: Oracle APEX uses a Simple Mail Transfer Protocol (SMTP) server to send emails, and SMTP credentials are required to authenticate against this server. These credentials ensure that only authorized users can send emails, adding an important layer of security.
OCI Email Delivery is integrated into the OCI Identity and Management (OCI IAM) set of services, where SMTP credentials are managed for OCI IAM users.
A dedicated OCI IAM User can be created but for simplicity we will use our own OCI User account.
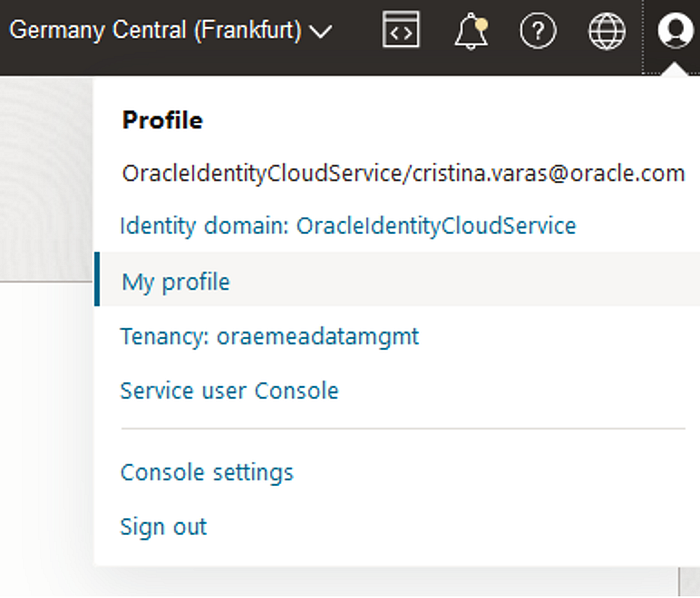
- In the Oracle Cloud Console, from the user icon navigate to My Profile.
2. From the Resources area (scroll down -> bottom left), select SMTP Credentials.

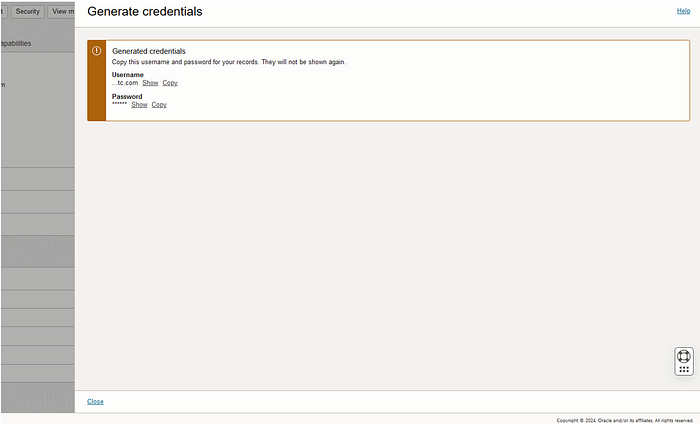
3. Click on Generate SMTP Credentials if they haven’t been created already.
4. You will receive a username and password generated by Oracle. Make sure to securely store these, as they will be required in the next steps to authenticate with the SMTP server. The password will never be displayed again!
Step 2: Configure Email Domains and Allowed Senders Setup
Oracle Autonomous Database (ADB) enforces domain validation to ensure that emails are only sent from trusted domains. This is critical in preventing unauthorized use of your SMTP server for spam or malicious purposes. You also need to define a list of allowed senders — only emails from these addresses can pass through the SMTP server, further controlling who can send emails from your APEX environment.
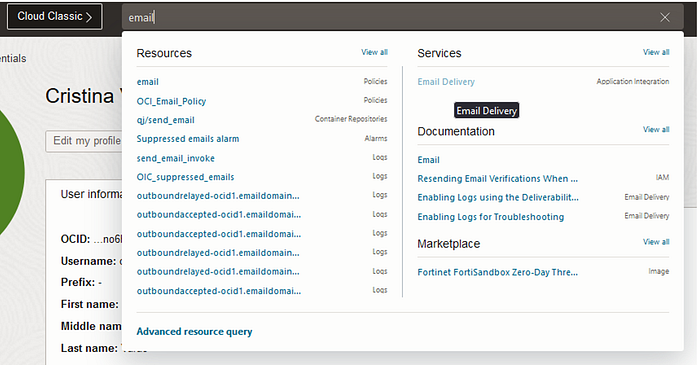
This is done in the OCI Email Delivery Service.
1. Define the domain for your APEX environment. This tells the SMTP server to only accept emails originating from this domain. For organizations, they may use the company’s domain, for developers this can be any value that follows the domain naming convention.

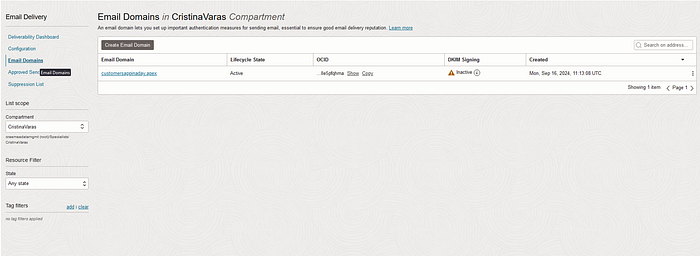
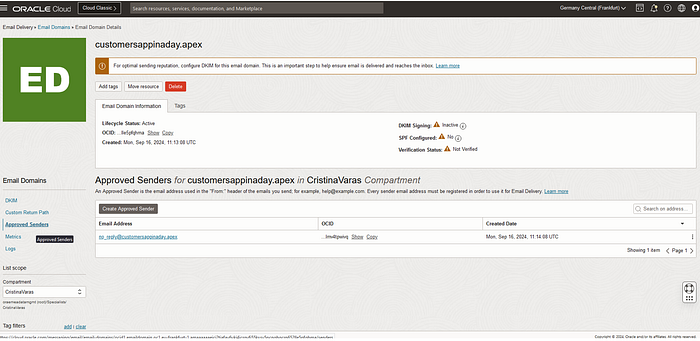
Once added allowed senders can be grouped together in the Email Domain.
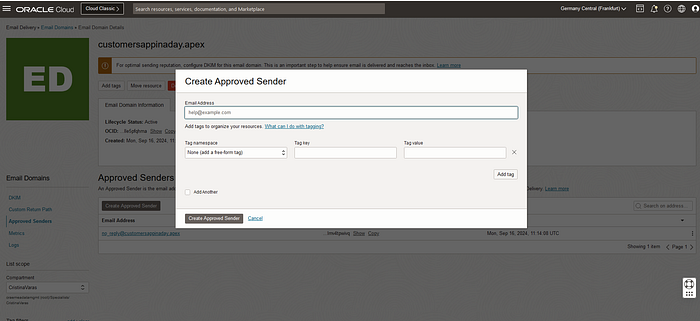
2. Specify the allowed email addresses by adding them to the Allowed Senders list. This ensures that only approved users (e.g., specific email addresses in your organization) can send emails.
By enforcing domain restrictions and specifying allowed senders, Oracle ADB provides an extra layer of email security. This helps prevent email spoofing and ensures that only authenticated users from recognized domains can send emails.
Step 3: Configuring Email in Oracle APEX
Once the SMTP credentials and allowed senders are configured, you need to integrate these settings into your APEX application to ensure email functionality.
OCI Email Delivery provides a SMTP host and the settings for the tenant are region specific. To view the host details select the Configuration tab and review the SMTP Sending Information details.
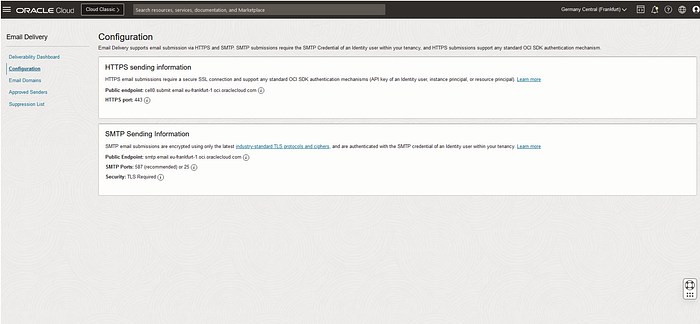
The public endpoint and port are required in the following steps.
1. Inside your APEX workspace, go to Administration > Instance Settings > Email Tab.

2. Set the following parameters:
- SMTP Host Address: This is the public endpoint of the OCI Email Delivery SMTP server
- SMTP Port: Port 587 is used for secure communication using TLS (Transport Layer Security), which ensures that your emails are encrypted in transit.
- SMTP Username: The username generated during SMTP setup.
- SMTP Password: The password that was generated with your SMTP credentials.
- Use SSL/TLS: This setting ensures that emails are sent over a secure connection, which is important to protect sensitive information. SSL/TLS is required and it is recommended to use “After connection is established”
- Default Email From Address: The default email address email will be sent from. This must be one of the configured allowed senders, added in the above steps.
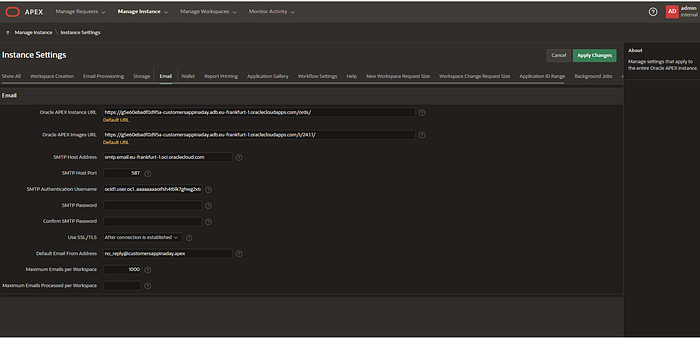
This configuration ensures that your APEX instance has the correct details to authenticate with the SMTP server and send emails securely. TLS encryption is essential to protect your data as it travels across the network, ensuring that your emails are secure.
Step 4: Creating a Test Page for Email Sending
Before deploying email functionality in production, it’s crucial to test your configuration. A simple test page can help verify that your SMTP settings are correct and that emails are being sent as expected.
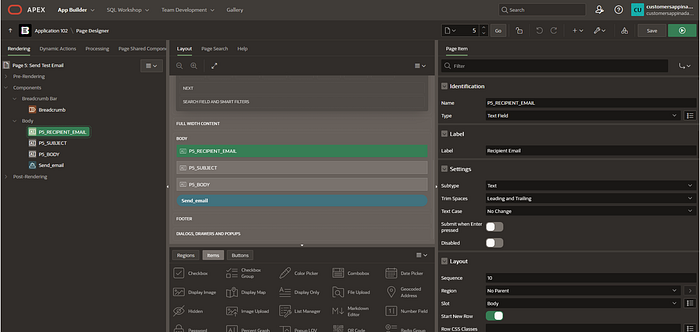
Create a test form in APEX with the following items:
PS_RECIPIENT_EMAIL: This is where the user enters the recipient’s email. This field is important for determining where to send the email.
- Type: Text Field
- Settings: No specific restrictions, but you can enforce valid email format if necessary.
- PS_SUBJECT: This is the email subject line.
PS_BODY: This is the email content where users can enter their message.
Send Email Button: This button triggers the email to be sent using the SMTP settings you’ve configured.
This step helps you test your email configuration in a real-world scenario, ensuring that emails are sent correctly and that users can provide email content dynamically. If something goes wrong during testing, this simple setup allows for easy debugging.
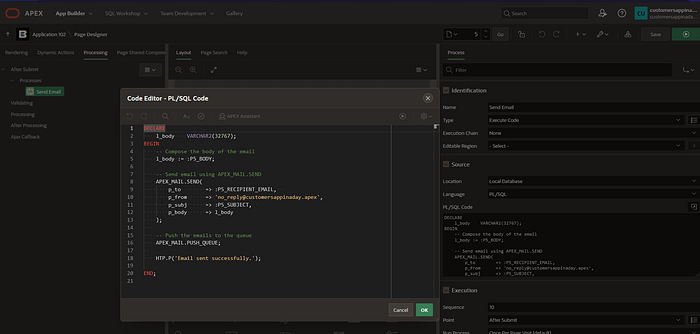
Step 5: PL/SQL Code for Sending Emails
Oracle APEX uses PL/SQL to handle back-end processes, including sending emails. Writing a simple PL/SQL block ensures that emails are sent programmatically, based on user input from the test page.
Code Example:
BEGIN
  apex_mail.send(
    p_to => :PS_RECIPIENT_EMAIL, - Dynamic recipient input
    p_from => 'your-email@domain.com', - Replace with your configured sender email
    p_body => :PS_BODY, - Dynamic email body input
    p_subj => :PS_SUBJECT - Dynamic subject input
  );
  apex_mail.push_queue; - This pushes the email into the queue for sending
END;
This PL/SQL block sends an email to the address provided by the user, with a subject and body also entered by the user. The apex_mail.push_queue function is essential, as it ensures that the email is added to the queue for delivery. Emails in APEX aren’t sent immediately but are queued to allow for batch processing and error handling.
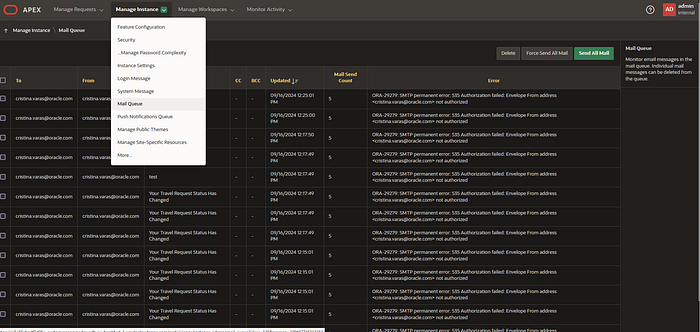
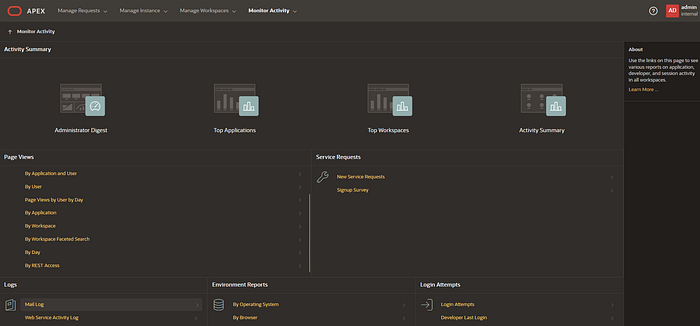
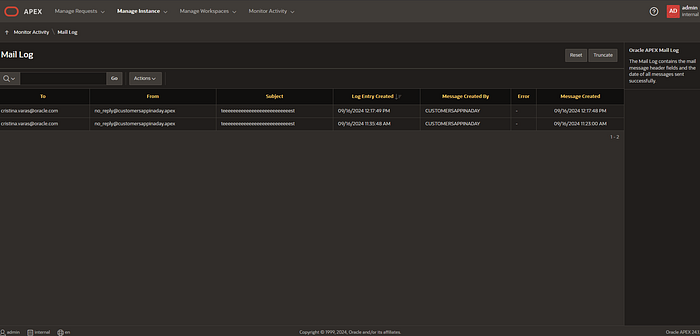
Step 6: Monitoring the Email Queue and Logs
Once emails are being sent, you can monitor the system to ensure everything is functioning as expected. Oracle APEX provides built-in tools to track the email queue and logs.
- Manage Instance > Mail Queue: This section shows all the emails that are in the queue waiting to be sent. It’s useful to see if any emails are stuck or if the queue is growing too large.
- Monitor Activity > Mail Log: This log provides detailed information about emails that have been sent, including any errors that occurred during sending.
Monitoring the email queue and logs is critical for troubleshooting. If emails aren’t being delivered, these logs can help you identify issues such as incorrect SMTP credentials, domain restrictions, or network problems. Proactive monitoring ensures that email functionality remains robust and reliable.
Conclusion
Configuring email in Oracle APEX on an Autonomous Database involves several additional steps due to ADB’s focus on security and controlled access. By following these steps — setting up SMTP credentials, defining allowed senders, configuring the APEX email settings, and monitoring the email queue — you’ll ensure that your APEX applications can send emails securely and reliably.
I worked on this guide in collaboration with Sydney Nurse, whose insights greatly helped me better understand the email configuration in ADB. If you have any questions or need further assistance, feel free to reach out to us via our LinkedIn profiles.
Sydney Nurse & Cristina Varas Menadas
Happy coding! 🚀